AMAZON

Friday, July 13, 2018

POPCORN ANYONE ?

 Who grows popcorn ?  Well I do. Don't remember why I started it . Probably got a sample pack somewhere and gave it a go.
  Over the years I have grown corn but I find it to be more work than it's worth.  We're not big corn consumers so I don't believe the sweet corn will return . Popcorn however will always find a place in my garden . We didn't plant any this year because as you can tell from the 3 large mason jars above I have more popcorn than I need.
  I am attending a plant trade this weekend and decided to pass along the gift.  I will have packages of seeds available.  Normally I get my seeds from Davids Garden Seeds. They are Pop Corn robust 997 hybrid seeds.  And can be purchased on amazon if you click on the name.
  I decided to do a germination experiment and planted some of my pop corn.  It was great. 100 percent germination rate and in 7 days not only did they germinate but grew 3" tall !!! I guess pop corn appreciates a good old fashioned heat wave!!!  Anyways I am willing to share my love of popcorn growing.

This popcorn is great. Smaller and denser than microwave popcorn  and they taste like real corn. I prefer to use coconut oil in a hot pan but it also works great in an air popper. 

My favorite recipe is Carmel corn with fresh grown pecans. Erik's dad lives in new Mexico and has a few pecan trees. You have never had a pecan like a New Mexico Pecan. 
This is my go to Carmel corn recipe.  no fancy ingredients just brown sugar and butter. 

EASY HOMEMADE CARAMEL CORN

Our Easy Homemade Caramel Corn is a family favorite. It is super yummy and super easy. And you don’t need Corn Syrup for this recipe.

INGREDIENTS:

  • 10 Cups of Popped Popcorn
  • Salt
  • 1 Cup Butter (Sweet Cream Salted)
  • 1 Cup Light Brown Sugar
  • 2 tsp. Vanilla
  • 1/2 tsp. Baking Soda

DIRECTIONS:

  1. Make popcorn.
  2. Salt popcorn and set aside.
  3. Melt 1 cup of butter in a medium saucepan over medium heat.
  4. Add 1 cup of brown sugar and stir until thoroughly mixed.
  5. Stirring continuously, bring the butter and sugar mixture up to a boil on medium heat.
  6. When it reaches a boil allow it to cook for 5 minutes without stirring on medium heat.
  7. Add the 2 tsp. of vanilla at the 4 minute mark and stir to mix.
  8. Continue to boil for one addition minute and then add the 1/2 teaspoon of baking soda.
  9. Drizzle the caramel mixture over the popcorn. Use a spoon to gently fold the popcorn with the mixture until the kernels are all covered.
  10. Pour the popcorn out onto a cookie sheet covered with aluminum foil or a silpat liner.
  11. Let the popcorn cool.
Wednesday, July 11, 2018

HARVESTING CORIANDER (CILANTRO) SEEDS

I grow and use ALOT of  Cilantro  . As I live in a warm climate it does have a tendency to bolt. I find if I cut it back often and keep it small I get the best results. The only problem with that is when the warm spells hit , the small plants bolt instantly.  Not good for seed production. The seeds of the cilantro are called Coriander. A spice I rarely use. It is nice however to have some around. 
  This year however things got crazy and my cilantro grew 4 feet tall. I waited until they turned brown and had lots of seeds . Hanging them outside in 122 degree weather finished them off. 


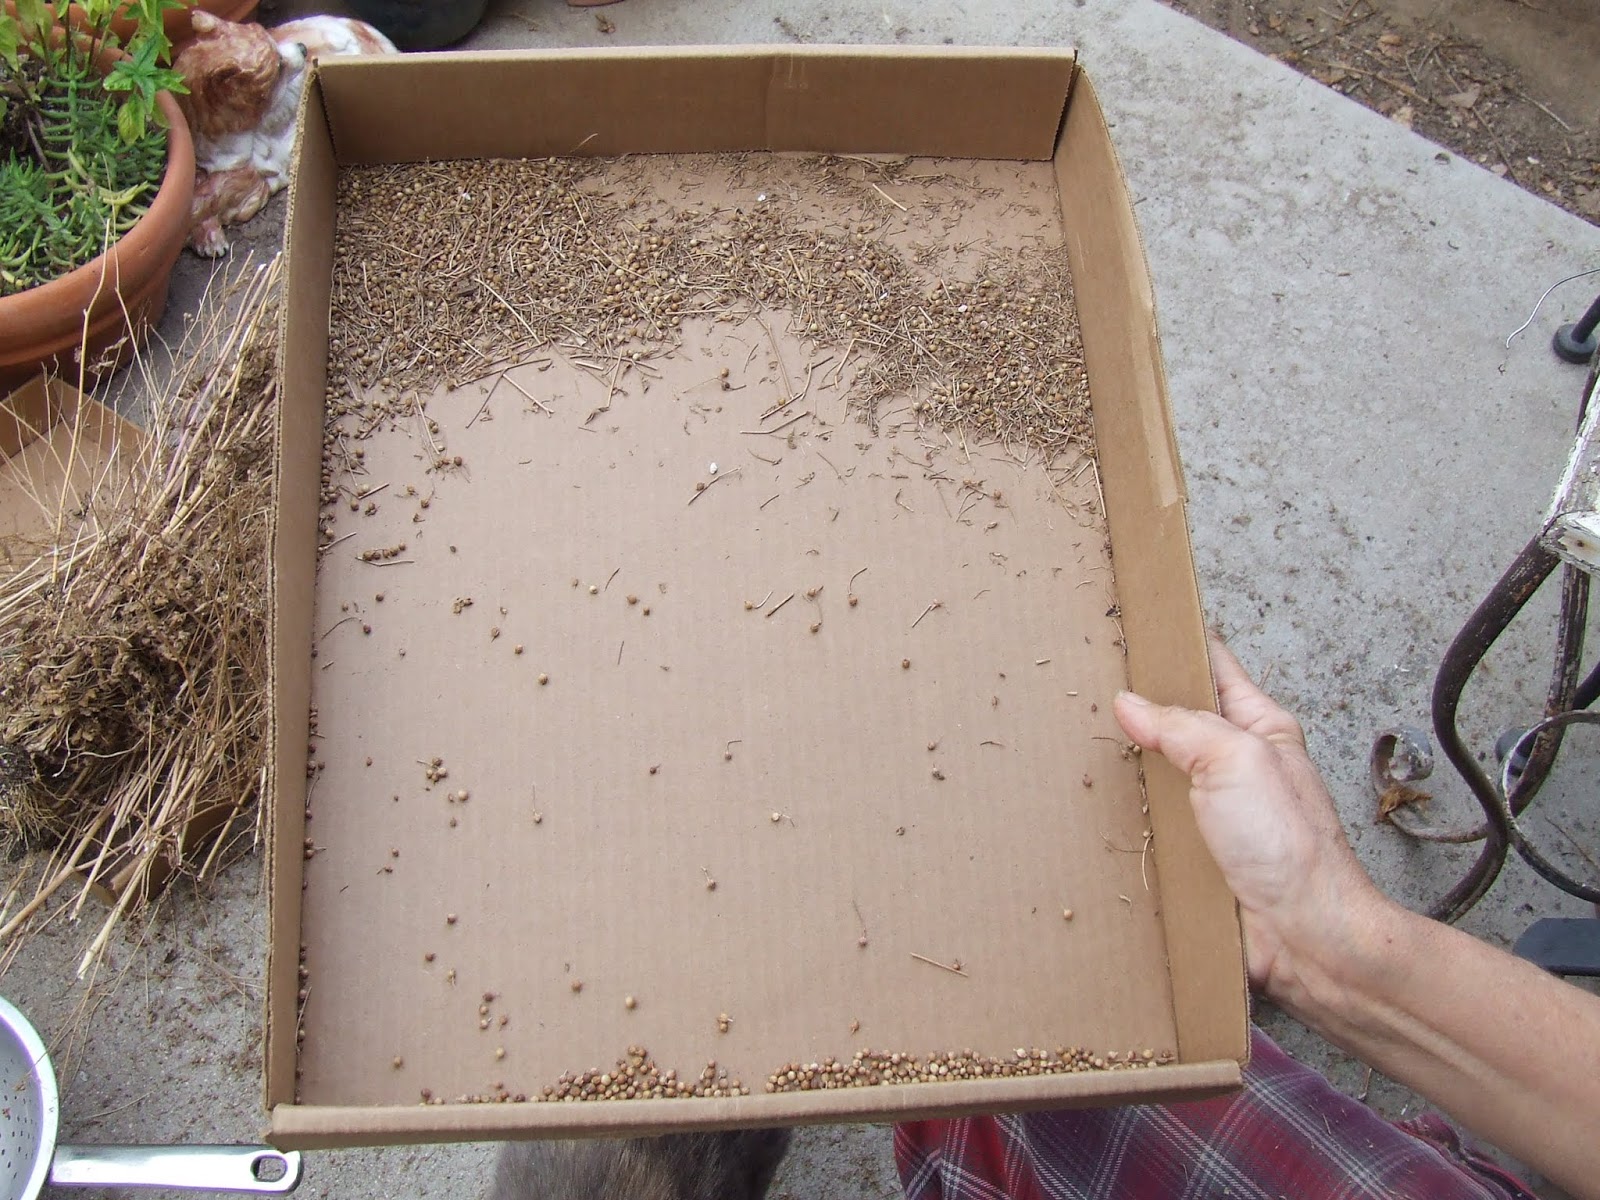
Harvesting these seeds can be an arduous task . As I have a slight bit of ADD I am not typically a seed harvester and saver. For my Coriander seeds I cut off the tops and rub them off with my hands.  Using  a  large hole colander I shake the seeds into a box.
 To further separate them  from the stems 
I shake the larger heavier seeds to the bottom. As you can see this technique is best done in your pajamas.  I love gardening in my pajamas.

 Here was my harvest. Just enough seeds for replanting and cooking with for at least  a year. I use  the mini mason jars for all my spices . These jars are the best. I also use them for canning salsa as its just my husband and me.  Perfect amount for one meal 

Sunday, July 8, 2018

SHISHITO PEPPERS THE PERFECT TAPAS

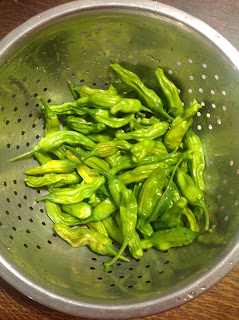
 A few years ago I took the metro link to the beach. We ended up in a Tapas restaurant in San Juan Capistrano , a stop along the way. There I had some Shishito  peppers. They were AMAZING!!!   
  Knowing I was too far into the growing season to grow peppers by seed I found some plants on Amazon.  Only 2 lived .I don't know if you have ever bought plants on the Internet but I would more aptly call them seedlings.  That was enough however to have some peppers that year and save the seeds. 
I don't normally grow peppers from seeds but I had no choice as the local nurseries did not carry them. I carefully coddled them for 3 months then spent the next 2 weeks hardening them off.   The following week I went to Parkview Nursery to get my yearly plant fix and THERE THEY WERE !!!!  Who knew.  So glad they have become a staple pepper in nurseries. I am hoarding some                                                                              seeds every year just in case ......


These peppers are very mild. Basically they serve as a perfect savory background to the soy ginger sauce. The perfect appetizer. I make them regularly at dinner as they basically compliment any summer meal. Just know that every now and then a moderately hot one will  pop up !

You can use any oil to fry them however the sesame oil is best . I sometimes add some seeds towards the end. If you add them too soon they will burn. The sauce below lends itself well to many uses.You really don't need all the ingredients but they do add to the flavor. I have just put the soy mayo and sesame oil together and its still great .  I make it in a mason jar and shake it up. Instead of covering the peppers we use it as a dip. The rest can be saved for salads and believe it or not marination. 
 
 They are now available at Sprouts and Whole foods  . You can try before you plant. They are much larger than the ones I grow and the ones in the Tapas restaurant  but are very tasty too !!!


Shishito Peppers with Soy-Ginger Sauce 


Ingredients

  • 8 ounces shishito peppers
  • 2 tablespoons sesame oil 
  • 3 tablespoons soy sauce 
  • 1 tablespoon mayonnaise
  • 1 teaspoon grated ginger 
  • 1 teaspoon honey 
  • 1 teaspoon lime juice 
  • 1 teaspoon toasted sesame oil
  • 1/2 teaspoon chile paste 
  • 1 teaspoon sea salt 

Directions

Heat a cast-iron skillet over high heat. Toss the shishitos with the 2 tablespoons sesame oil in a large bowl. Add the peppers to the hot skillet in a single layer. Cook, turning occasionally, until softened and charred in spots, about 10 minutes.
Meanwhile, in a large bowl, mix together the soy sauce, mayonnaise, ginger, honey, lime juice, sesame oil and chile paste.
Once the peppers are well blistered, add them to the sauce and toss to coat. Sprinkle with the sea salt and serve immediately.

Saturday, July 7, 2018

FRIED GREEN BEANS !!!!


Yup this is what happens when it gets to 122 degrees in Riverside California. Fried green beans . Literally.  Two of my plants made it through so I still have hope. That's the great thing about gardening. It somehow helps to explain life in general. 
  

  122 degrees during the fruiting time is not good. I am picking most of my burned peppers to cut off the good parts. Very sad indeed.  but we hold out hope because most of my plants made it through. A bit scorched but still alive.


Add caption

Thankfully they were already on their last leg.  I have already harvested approx 10 pounds of beans.  I will be planting some of the beans I have already harvested and dried for a second planting. In the past  I have been able to grow green beans year round. We will see what happens this year.

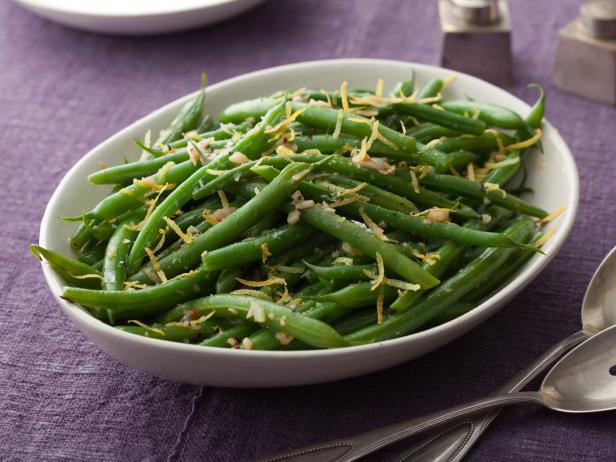
  below is my favorite green bean recipe this year.  Due to my zucchini hoard I am adding sliced mushrooms and zucchini to the recipe during the frying process. I use Neely family recipes often. They use fresh produce in most of them and I think that is  just great !!!!


Total:
17 min
Prep:
5 min
Cook:
12 min
Yield:
6 servings
Level:
Easy

Nutrition Info 

HEALTHY


Ingredients


Directions

Blanch green beans in a large stock pot of well salted boiling water until bright green in color and tender crisp, roughly 2 minutes. Drain and shock in a bowl of ice water to stop from cooking.
Heat a large heavy skillet over medium heat. Add the oil and the butter. Add the garlic and red pepper flakes and saute until fragrant, about 30 seconds. Add the beans and continue to saute until coated in the butter and heated through, about 5 minutes. Add lemon zest and season with salt and pepper.


Saturday, June 30, 2018

I LOVE SCOTTS PRO WEED FABRIC


 Well I'm back for a while. Still working on my weedy half acre and loving it.  It's just too bad I lost 3 years of garden notes. Most is still in my head so  I will be sharing my new garden hacks and maybe some old ones that did not work !!!!
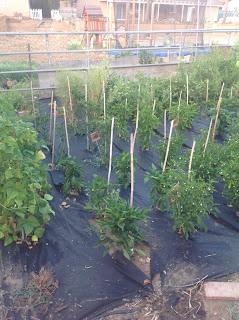
  Well I finally gave in to the black weed cloth . at the hubbys  insistence, or lets just say he bought all this crap on Amazon , I gave it a whirl. I was using newspaper and straw. It did the trick but I had a mess to clean up at the end of the season. To make a long story short I planted the main garden on March 21 and here it is June 15th. I honestly did nothing but turn on the drip for 3 months . No weeding at all.  As you can see some are growing up next to the plants but it was a 15 minute job. This stuff is called Scotts 25 year pro fabric. It is beyond fantastic.  if you are gardening in a large area it saves time and back pain.  I have a 24 x 24 area and it cost under 50 dollars to keep my garden virtually weed free.  I shudder to think what my first garden would look like without weeding for 3 months !!!


  Here's my strawberry patch  . I started with 2  six packs of plants and expanded over 2 years with cutting off the runners.  the black fabric is great for these too!!!  this is my patch 3 months after my March cleanup . You could not see the black cloth due to the over growth. My only problem is that earwigs and roly poly bugs love to live under the fabric. I use food grade diatomaceous earth  and sprinkle it around the base.

Sunday, April 12, 2015

Planting day March 18 2015

Finally getting to my planting day post. Between leaving my ipad at my parents and life in general , Im a bit late.
Im starting with the hummingbird garden as it has really come into its own this year. I planted the vine on the wall 3 years ago. FINALLY it blooms. 

As my husband now works full time at home I have plenty of help. He is also bringing his own form of creativity to the yard !!  we have added 2 more teepees and moved them closer to the grapes. Hopefully I can train the grapes over the trellis.  We are growing cucumbers , egg gourds and green beans on the teepees.   So far so good .
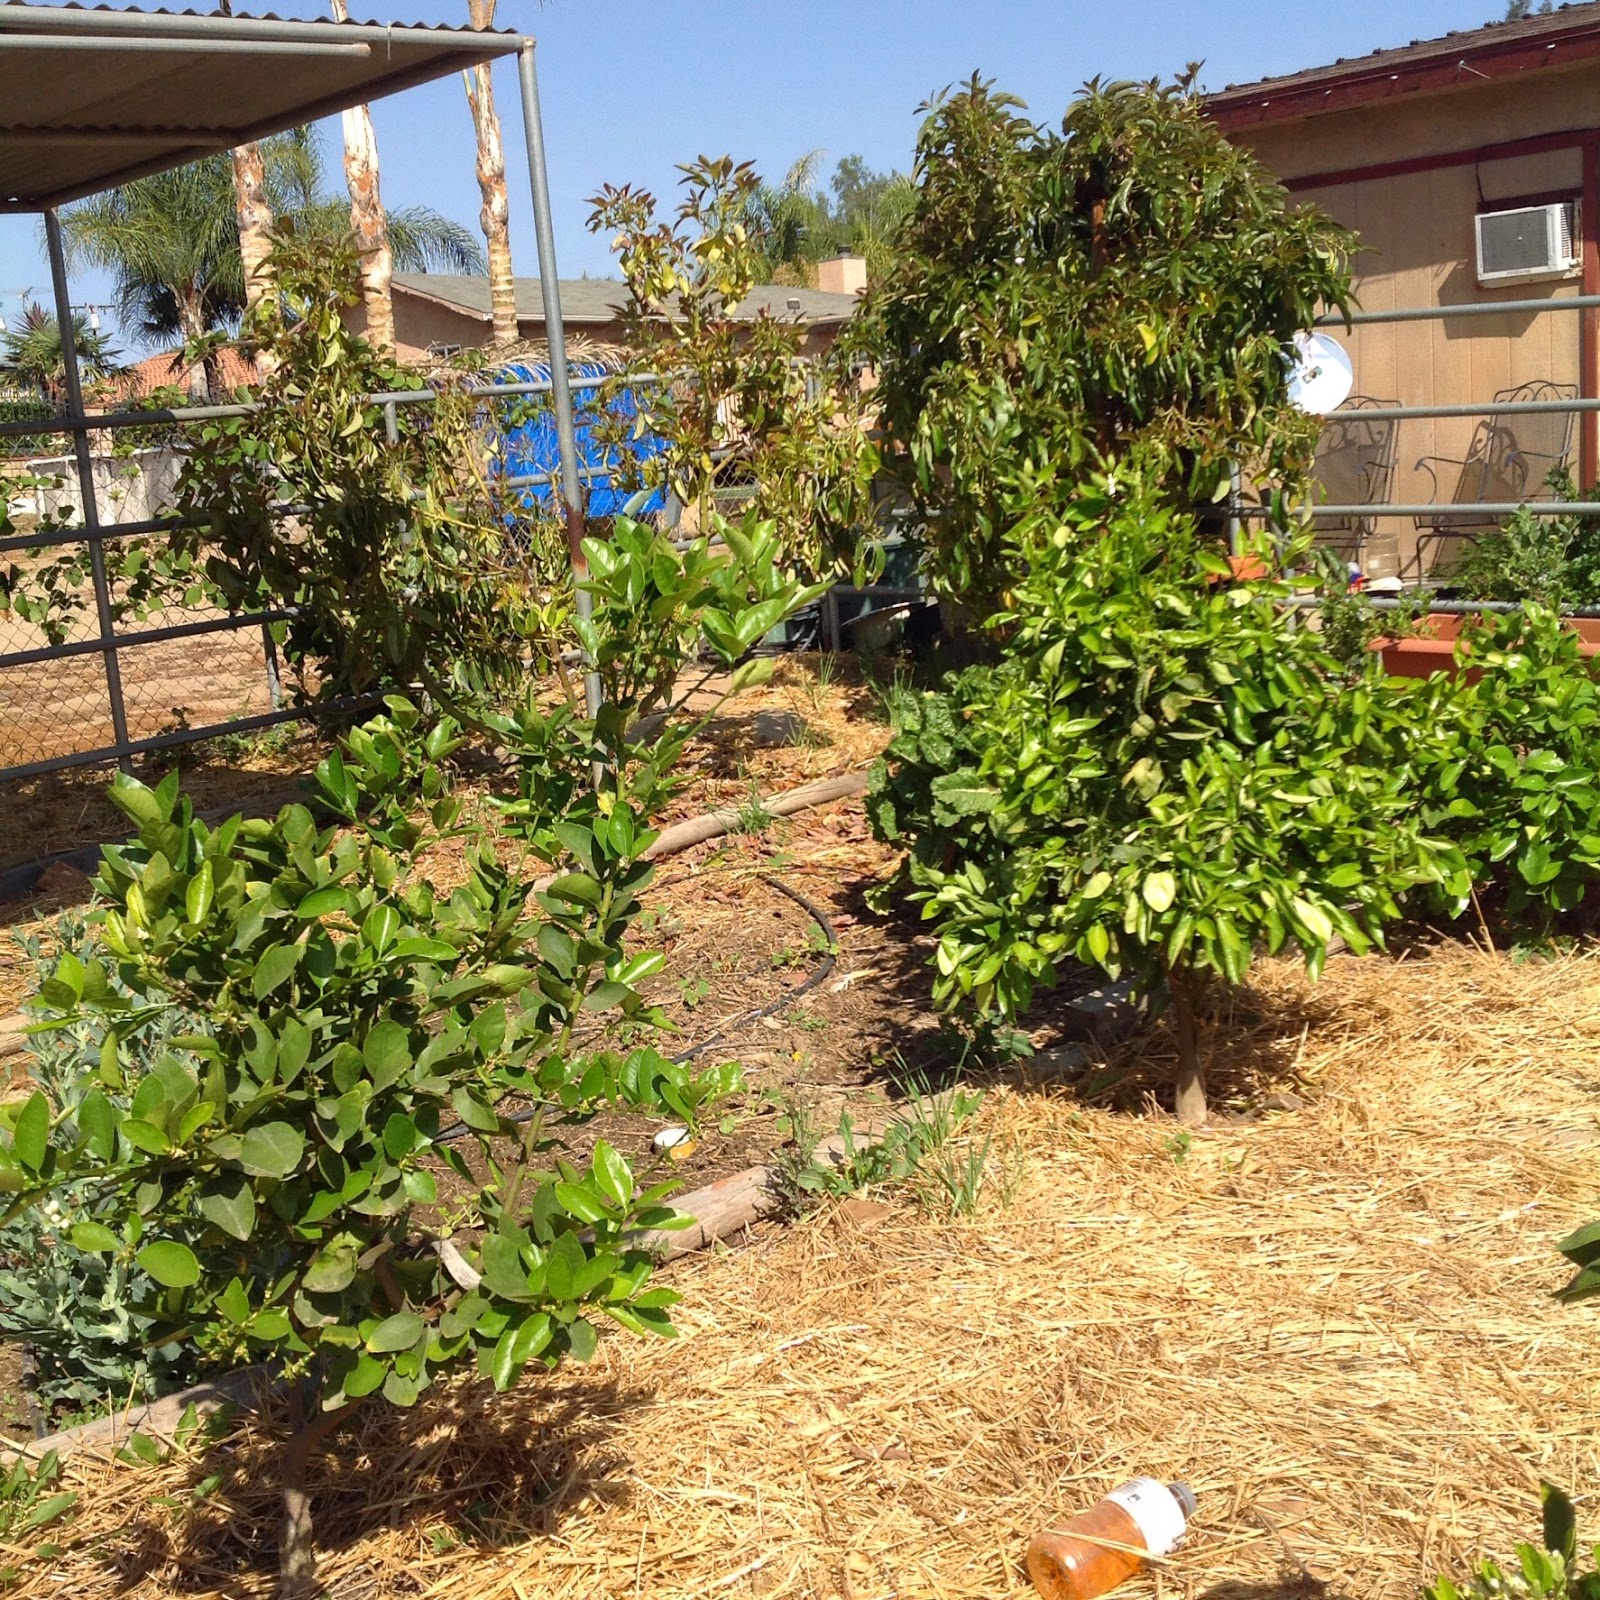
For the last 2 years I have had mulch on the trees.  This spring it was evident more was needed. As it was heavy and hard to work with I decided to try straw and cardboard.  Works well but I did like the mulch better .The straw while being cheaper is kind of slippery. My trees are doing good. I should have a real harvest of apples and apricots this year.  Its been 3 years so they are on track. Not quite sure about peaches and plums as they are later varieties.
My avocados have tons of blooms . We are crossing our fingers. The citrus is also finally starting to take off. I have started pruning them like trees so Im not so sure how much we will get this year. We live in a very heavy citrus area however so its not a problem. I am growing zucchini, melons and giant pumpkins here this year .Hopefully.  Also I have doubled my canning tomatoes and they are along the fence.
my poor burned out original garden is getting the onion , corn and popcorn rotation this year. I have a special new place for the peppers !  I planted the onions in October and planted new ones behind in march. Potatoes will be along the back.
 

And here it is the "PEPPER PALACE"  !!!  If it looks like my old chicken coop you are right!!!! They weren't using it so I took it back. I have tomatillos on the side and have blocks of the following peppers , Anaheim, poblano, jalapeno, yellow banana, habanero , and yellow, red and green bell peppers. Plus a heirloom tomato experiment. I can tell already they are much happier here. Years of chicken shit!!!!

Saturday, January 10, 2015

Death and destruction . It's that time of year.

 So yes my blogging was embarrassingly limited last year. As with most of us life took over and with my hands in so many pies blogging had to take a backseat. My gardening time was limited but not unsuccessful. The weeds grew a little higher and beauty pruning lacked but with my systems in place I still grew about 35 % of my food supply. Maybe even a little more but who wants to count. It takes all the fun out of it.

   The one thing I did realize last week while I was enjoying my garden fresh coleslaw, marinara made out of my frozen tomatoes and the best popcorn I have ever eaten , was that the blog had helped me to understand how to grow year round and gave me an understanding of processing to eat year round. I want to continue to learn and have a source to check back on. As my life and living exists on the Internet it still is the best way for me to journal.
 
So I am kicking off the blog with my garden at its worse. Or worse looking. This year I will be blogging  the garden at its worse and best. For me and not to impress. I grew up with having to invite people into your clean home. Last year the blogging lagged for many reasons. One of which was I had no time for cleaning it up. Yes I did weed and stuff but not picture taking kind. So here it goes...
 Our first and probably only frost . First week of January I was putting up the Christmas lights as everyone was taking them down. My r2d2 propane heater is a success. Notice the lemons and if you look real hard you can see my 5 tangerines on the tallest tree. The lime tree did well . Fruit was harvested until October. No grapefruit yet.

I guess papaya trees don't like the cold .never even considered moving it until it was dead . Crossing 
our fingers it will grow back. Who even eats papayas  


These are the cherry tomatoes that ate my yard. Total death after one night of 28 degrees. Doesn't matter though . This year I learned that green tomatoes won't mature during short sunlight days. Yes I tried to let them get green in the house. They sucked. 


 Winter garden fared well. It surprises me how the plants can freeze solid 4 days in a row and stil live . That empty looking space is my onions. Got them in late but they are now growing.